Overwintering Colocasia in the UK: How to Keep Elephant Ears Alive Through a British Winter
Short answer: how do you overwinter Colocasia in the UK? Keep the plant frost free, reduce watering as growth slows, and choose either active indoor growth under warmth and strong light or dry dormant storage for suitable corms.
Every autumn, thousands of UK gardeners tuck their Colocasia away and assume the worst is over. By spring, many of those plants are dead. Not because overwintering elephant ears in Britain is impossible, but because the advice most growers follow was written for a different climate, a different soil, and a different set of conditions entirely.
Elephant ear plant overwintering in the UK demands a more considered approach than the American zone guides suggest, and the margin for error is narrower than most gardeners realise. In Worcestershire-type conditions, ground temperatures regularly cross the threshold where Colocasia stops being dormant and starts dying. The difference between those two states is not obvious from the surface, and by the time you notice the damage, recovery is rarely straightforward.
This guide works through the full October-to-April process in practical, sequential terms. You will learn when to act, how to choose between lifting, insulating in situ, or managing container-grown plants through winter, and what to watch for during the difficult months in between. There is a tested protocol here. It begins with understanding what is actually happening inside your plant when temperatures drop.
Dormancy and Cold Stress Are Not the Same Thing

There is a difference between a plant resting and a plant dying, and with Colocasia, confusing the two is the mistake that empties the pot come April.
True dormancy is a physiological retreat. As days shorten and soil temperatures fall through autumn, a healthy Colocasia slows its metabolism, withdraws energy from its foliage and consolidates its reserves in the corm. The leaves yellow progressively from the margins inward, petioles soften and collapse, and the plant essentially stands down for winter. This is orderly. It is the plant doing what it evolved to do.
Cold stress is something else entirely. When soil temperatures fall into the low single figures and stay there, particularly in wet conditions, the corm does not enter a deeper dormancy. It begins to rot. The tissue breaks down from the outside in, anaerobic bacteria accelerate the process, and within weeks a perfectly sound corm can become soft, discoloured and foul-smelling at the core. The foliage signals this differently too: not a gentle yellowing but blackened stems, collapse that happens quickly rather than progressively, and if you push a finger into the soil near the crown, a sulphurous smell that leaves no room for optimism.
UK autumn rain is the compounding factor. American growing advice, which dominates most of what appears online, tends to assume a dry dormancy period. In Worcestershire and most of inland England, October and November deliver the opposite: saturated clay-heavy soil, persistent drizzle and ground that holds moisture far longer than the corm can safely tolerate.
The particular cruelty of Worcestershire conditions is the mild spell. A bright fortnight in late October, with air temperatures that feel almost autumnal in a pleasant sense, can give every impression that the plant is fine. The soil tells a different story. Ground temperatures lag behind air temperatures by weeks, and by the time the first sharp frost arrives, the soil at corm depth may have been cold enough to cause damage for longer than the grower realises.
Act before that frost. What follows in this piece is built around that single principle.
Why US Zone Advice Does Not Translate to the British Garden
Much of the overwintering advice circulating online originates in North America, where the USDA Plant Hardiness Zone Map sets the standard for cold tolerance claims. Colocasia is commonly described online as suited to USDA zones 7 or warmer, a framing that sounds reassuring until you understand what it measures.
By minimum temperature alone, much of the English Midlands maps to roughly USDA zone 8b or 9a, suggesting conditions warmer than the zones where Colocasia is said to struggle. In practice, a Worcestershire winter kills more corms than a comparable American zone 7 winter. The reason is straightforward: the USDA system measures only the average annual extreme minimum temperature. It says nothing about what happens between those extremes.
The critical difference is moisture. American growers in zones 7 and 8 typically experience a relatively dry dormancy period, during which soil drains, corms harden off naturally, and cold does its work cleanly. British winters offer no such courtesy. Persistent rainfall from October through February keeps soils saturated for weeks at a time. In the clay-heavy soils common across the Midlands, drainage is slow and the corm sits in conditions closer to a cold water bath than a dormant bed. It is not cold alone that kills; it is cold combined with wet, and the two arrive together here as a matter of routine.
The Royal Horticultural Society's H-scale addresses this more honestly. Introduced in 2012, it runs from H1 (tender) to H7 (fully hardy), with ratings designed to reflect the variable, wet character of British winters rather than a single temperature threshold. Colocasia is typically treated by UK growers as H2 to H3, that is, tender to frost-hardy at best, though official RHS species-level ratings should be checked for the cultivar you are growing. An H3 rating means the plant may survive outdoors in an average winter in milder parts of the UK, but should be considered at meaningful risk in a cold or wet season. That is a very different proposition from "hardy to zone 7."
Regional variation within the UK matters. A sheltered coastal Cornwall garden or south-facing walled plot near the Severn estuary is not the same situation as an exposed inland garden in north Worcestershire or the Pennines. The protocols that follow are calibrated to Worcestershire-type inland conditions; those in milder spots can afford some latitude, while gardeners further north should treat them as a minimum precaution.
The October Decision: When to Act and What to Consider First
All of this matters most in the first two weeks of October. That is the practical window for inland Midlands conditions before the first ground frost descends and removes the choice from your hands. Acting afterwards means working with a plant already under stress rather than one still carrying its full summer reserves.
Before deciding anything else, four variables shape which method is appropriate. First, consider the plant's age and the maturity of its corm. A large, well-established corm with a firm, slightly thickened callus at its base holds meaningfully more stored energy than a small offset produced in the same season. That difference translates, at the margins, into slightly greater tolerance of handling delays and brief cold exposure. Juvenile corms have no such buffer. Second, assess whether the plant is in a container or growing in open ground, since these demand entirely different responses. Third, be honest about available indoor storage: a frost-free garage that stays above 5°C serves differently to a warm utility room, and that distinction governs which storage method will succeed. Fourth, consider your specific microclimate. A plant growing against a south-facing wall on free-draining soil is in a materially different position to one in open ground on a north-facing slope with clay beneath it.
For container-grown plants, the first question is whether the entire pot can be moved to a frost-free space for winter. If it can, that is frequently the better option, leaving the corm undisturbed in its existing root environment. If the pot is too large to move, or the storage space too cold, lifting the corm separately becomes the cleaner solution.
Established clumps in the ground for two or more seasons present a different calculation. Their sheer mass provides some insulation to the central corms, but the outer margins of a large clump remain exposed and are reliably the first to deteriorate. Single-season plantings carry no such advantage and should be treated as vulnerable regardless of how well they performed through summer.
How to Lift, Cure and Store Colocasia Corms Indoors
Once you have made the October decision and committed to lifting, the process needs to be methodical. A corm damaged in lifting rarely recovers well in storage.
Lifting is best done after foliage has died back naturally, or immediately at the first credible frost warning. Use a border fork rather than a spade, working at least 20-25cm out from the stem base and angling inward gradually to avoid slicing through the corm body. Ease the whole root mass upward rather than levering sharply. Offsets, the smaller cormlets attached at the base or margins, can be separated by hand once the clump is out of the ground; those with a firm, intact base are worth keeping. Any that feel soft or show bruising should be inspected closely before committing storage space to them.
Curing is not optional. Freshly lifted corms have torn surface tissue highly susceptible to fungal infection, and placing them straight into storage is a common cause of winter losses. Lay them in a single layer in a frost-free, well-ventilated space, a cool shed or unheated porch works well, for at least a week, or until the skin feels dry and papery. A healthy corm after curing will feel firm throughout and show no sunken areas. Any that smell sulphurous or feel soft at the base should be treated with suspicion before they contaminate others.
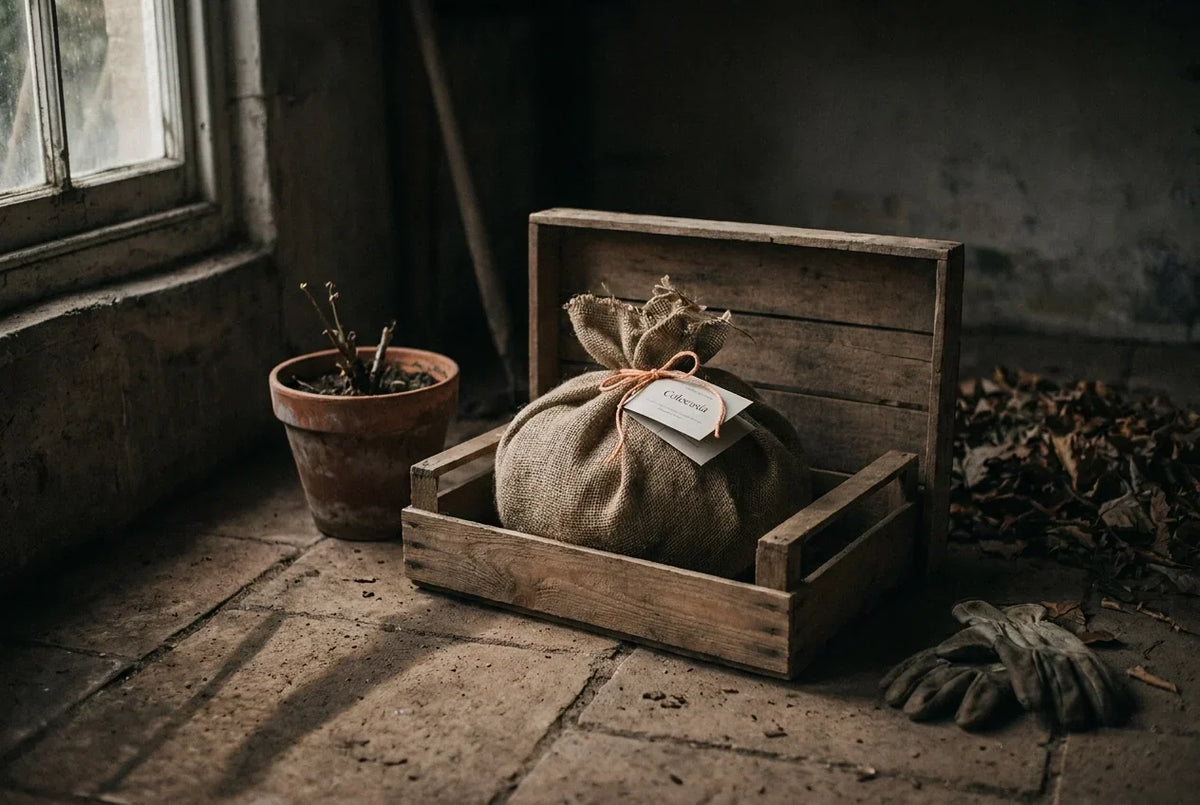
Storage conditions matter considerably. Aim for a cool but frost-free space, somewhere that reliably stays above freezing but does not exceed low room temperature, with low humidity and good airflow around each corm. Dry compost, vermiculite, or a paper bag inside a wooden crate are all suitable. Sealed plastic bags are not; they trap residual moisture and create exactly the anaerobic environment that rot requires.
A note on terminology: these are corms, not bulbs, and the distinction has practical consequences. Unlike true bulbs, Colocasia corms are generally considered to require a small amount of residual moisture during storage, avoid conditions that would fully dry them out.
Check stored corms monthly from November through to February. A small patch of surface mould can be treated with a light dusting of sulphur powder or activated charcoal, followed by improved ventilation. If the soft area extends into the interior or the corm compresses under light finger pressure, discard it cleanly rather than attempting to rehabilitate it. Rot spreads.
Leaving Plants in the Ground: When Insulation Can Work
Not everyone has a frost-free garage or the storage space for a collection of lifted corms, and lifting is not always the right answer. Established clumps that have been in the ground for two or more seasons, with the deepest corms sitting 20cm or more below the surface, can sometimes be left in place if the conditions are genuinely in their favour.
Those conditions are specific. The soil must drain freely; a south-facing, sheltered aspect helps considerably; and a mild coastal or urban microclimate makes a meaningful difference to the odds. In such situations, in-situ overwintering is a reasonable gamble. In heavy clay on an exposed Worcestershire hillside, it is not.
The layering method, done properly, involves cutting foliage back to a short stub above soil level once the first frost has blackened the leaves. Do not cut before that point; the plant is still moving nutrients downward. Then build up a generous depth, at least knee-high, of straw, dry bark or bracken over the crown, and finish with a layer of horticultural fleece or hessian weighted or pinned at the edges to stop it lifting in winter wind. The insulation is only as good as the dry air it traps. Saturated mulch provides almost none.
Drainage is the single point of failure in this method. Waterlogged soil will rot corms from below regardless of how well they are covered above ground. No depth of straw compensates for a poorly drained site. If water sits on the surface for more than a day after heavy rain in October, the corms need lifting.
For Worcestershire and comparable inland gardens, treat this approach as a calculated risk you are taking with a plant you are prepared to lose, not a reliable protocol.

Container-Grown Plants: The Most Reliable Route Through Winter
If in-situ overwintering is a calculated gamble, container growing is the hand you actually want to be holding come October.
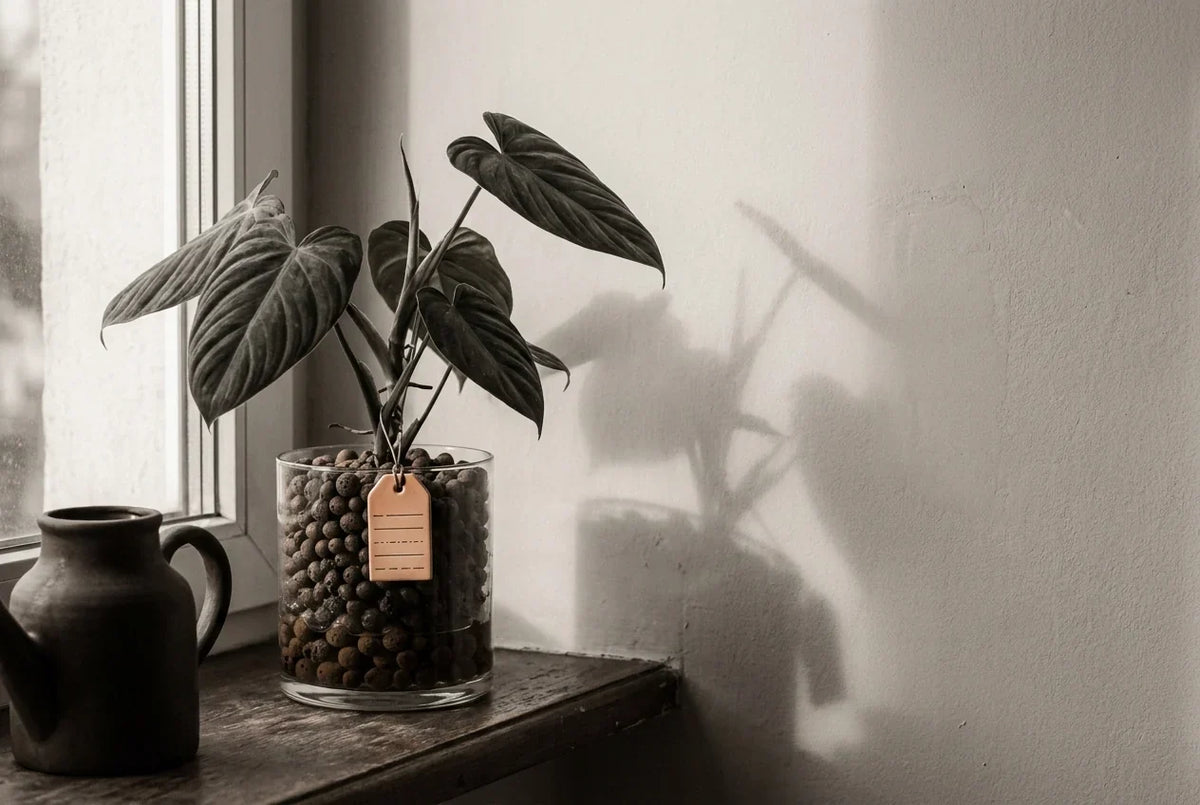
The fundamental advantage is mobility. Fullness of Time's semi-hydroponic planters can be moved before the first frost reaches the ground, with the entire root system and corm intact, moisture levels under your control and survival no longer dependent on whatever the Worcestershire weather decides to do overnight. That control is the central argument for container growing, and it compounds through every stage that follows.
The method itself is straightforward. From early October, stop feeding entirely and begin reducing watering gradually. Once the foliage has yellowed and started to die back, move the container to a frost-free but cool space: an unheated greenhouse, a garage, or a shed that reliably stays frost-free through the coldest months. Water very sparingly, the goal is to prevent the medium from completely desiccating, not to keep it moist. The corm is resting; it does not need encouragement.
The most common error is well-intentioned. Bringing containers into a warm, centrally heated room feels like kindness, but temperatures typical of a heated living room in midwinter can nudge the plant back into growth before the light levels exist to support it. The pale, etiolated shoots that result are drawing on stored corm energy, and that energy cannot be recovered. A cool, dark garage is doing far more good than a bright kitchen windowsill in December.
Plants growing in Fullness of Time's semi-hydroponic planters need one additional step: drain and dry the reservoir completely before moving the pot to its winter quarters. Cold water held static against a dormant corm through January is a reliable way to lose it.
Pot size matters more than most growers expect. Small containers lose moisture quickly and offer little thermal buffer. Very large pots in cold, poorly ventilated spaces can hold dampness around the corm for weeks at a time. If your container is particularly large, check the base of the pot monthly and ensure water is not pooling undetected.
November Through February: What to Watch and When to Worry
Once your plants are settled into their winter arrangements, the temptation is to close the greenhouse door and forget them until March. Resist it. The dormancy period rewards occasional attention, and the problems that kill stored corms nearly always give warning before they become fatal.
November is a month for confirming everything is where it should be. Stored corms should feel firm and dry to the touch, with no further softening at the base or crown. In-situ plantings must have their full mulch in place before the first sustained ground frost settles; a cold snap arriving before the insulation layer does is one of the most common causes of failure. Container plants should already be in their cool storage location with watering wound right down.
December and January are the quiet months. Stored corms need only a brief monthly check, turn each one in your hand, note any changes, and return it to its bed of dry vermiculite or compost. Full guidance on what to look for and how to treat affected corms is in the lifting and storage section above. In-situ plants should be left entirely undisturbed; poking at the mulch to check progress lets cold air in and does nothing useful. Container plants can generally sit without water through this period, though if the growing medium has become completely desiccated, a very small amount of water, barely a dampening, will prevent the corm shrivelling.
February demands closer attention. A run of mild days can trigger early shoot emergence in both stored corms and container plants. These pale, etiolated shoots are not a crisis. They are a prompt to begin gradually reintroducing light and slightly warmer conditions over the following weeks, not to rush the plant back into growth.
At any point between November and March, act immediately if you encounter any of the following: soft or sunken areas on a stored corm, the unmistakeable smell of decay when you open the storage box, mould spreading visibly beyond a small isolated patch on the corm surface, or waterlogged mulch around in-situ plantings that shows no sign of draining freely. These are not conditions to monitor. They require action the same day.
Bringing Colocasia Back in Spring: Timing and Technique
Once February has loosened its grip and stored corms begin to stir, the temptation is to act immediately. Resist it. Timing the return to growth is temperature-driven, not calendar-driven, and rushing the process wastes the patience you have invested since autumn.
Wait until your indoor growing space holds consistently warm indoor temperatures, equivalent to a comfortable room in late spring, before potting corms up. In Worcestershire this is typically late winter to early spring in inland Midlands conditions, though a cold year can push this later. A corm introduced to warmth too early will either sulk in cold compost or exhaust itself trying to grow in inadequate light. Neither outcome serves it well.
When the moment is right, start each corm in a small pot rather than a generous one. A free-draining mix of peat-free compost with a generous proportion of perlite gives the emerging roots something to grip without holding water against the corm. Orientation matters: position the growth tip facing upward. On smooth, regular corms this is obvious; on older irregular specimens with flattened or scarred crowns, look for the slightly rougher, slightly more concave surface, which is usually the top. Water once after potting, then wait. Water again only when the upper centimetre of the mix has dried out. The first shoot will emerge in its own time.
Hardening off is non-negotiable for any plant destined for the garden. Inland UK locations, including much of the Midlands, carry a genuine late frost risk through April and into early May. Move plants outdoors during mild days and bring them back under cover each evening for two to three weeks before planting out permanently. Do not trust a warm spell in late April. One night below zero can blacken new growth entirely.
Begin feeding only once the first leaves are fully unfurled, not before. Start with a dilute balanced feed, then switch to a higher-nitrogen formula as the canopy builds. Colocasia in full early-season growth can produce new leaves in quick succession given sufficient warmth and nitrogen.
Finally, expect a pause. A plant showing no visible movement three or even four weeks after potting up may still be rebuilding its root system below the surface. Check that the corm remains firm and shows no smell or softening, then give it warmth and time rather than repeatedly disturbing it.
Does Cultivar Choice Affect Winter Hardiness?
Once your corms are safely back in growth, a question often surfaces: would a different cultivar have made all this easier? It is a reasonable thing to wonder, particularly if you have seen Colocasia Black Magic described elsewhere as robust, architectural and suited to the British garden. The winter care qualification is sometimes quietly absent from those descriptions.
There is no reliable evidence that Black Magic is hardier than other commonly grown cultivars. The same overwintering protocol applies regardless of cultivar: the colour of the leaf does not change the vulnerability of the corm.
Some species-level variation does exist. There are anecdotal reports of unimproved Colocasia esculenta persisting through mild winters at the warmer margins of southern Europe, where soils drain freely and winters remain comparatively mild, though documented evidence is limited. But named ornamental cultivars, selected over generations for dramatic foliage size, colour and form, have not been bred with cold tolerance as any part of the brief. Selecting for visual spectacle and selecting for hardiness are largely separate endeavours, and the ornamental market has pursued the former.
A handful of experienced collectors have noted that Colocasia esculenta 'Illustris', and certain vigorous green-leafed species forms, have occasionally come through sheltered UK winters in situ. This is worth knowing, but not worth relying upon. A single mild winter followed by a harder one can give false confidence, and the underlying soil drainage and microclimate factors matter far more than the cultivar name on the label.
Fullness of Time's plant listings include hardiness observations recorded under Worcestershire growing conditions alongside each variety, which is a more useful reference than generalised zone claims.
One practical note that belongs here: ornamental Colocasia is widely understood to contain calcium oxalate crystals and is not safe to eat without proper preparation, treat it as inedible and handle corms with care, particularly if the skin is broken during lifting. Edible taro is a distinct crop, and even within Colocasia esculenta the distinction is meaningful.
Common Problems and How to Recover From Them
Even the most careful grower encounters problems. Knowing what to look for, and what can actually be salvaged, makes the difference between a lost season and a late recovery.
Rotted corm in storage usually traces back to excess moisture at the point of storage or to a wound that was not fully cured before the corm went away. If you find soft tissue, cut back to the damage and examine the interior. Clean, cream-coloured flesh with no discolouration suggests the rot is superficial and the corm may survive if you dust the cut surface with sulphur powder and allow it to dry thoroughly before returning it to storage. Dark, waterlogged or foul-smelling tissue means the rot has progressed too far; cut your losses, discard the main corm, and check whether any offsets remain firm and viable.
Shrivelled corms have usually been stored somewhere too warm and dry. The tissue loses moisture faster than it can tolerate. Wrap the corm loosely in slightly damp newspaper and leave it in a cool spot for two or three days. Most will plump noticeably. Do not soak it; the goal is gentle rehydration, not saturation.
Surface mould in storage is not automatically a death sentence. If pressing the affected area reveals firm tissue beneath, remove the mould gently, dust with sulphur powder or activated charcoal, and improve ventilation around the stored corm. If pressing the affected area reveals soft or discoloured flesh underneath, treat it as rot rather than mould.
Failure to re-emerge in spring deserves patience before it becomes a conclusion. Wait until late April before giving up. Press a stored corm firmly; a live corm resists pressure and feels dense. Gently probe the soil around an in-situ plant to feel for a firm corm body beneath the surface.
Premature pale shoots in January or February mean storage temperatures are too warm. Do not remove the shoots; they are drawing on finite energy reserves and cutting them triggers another flush. Move the corm somewhere cooler and brighter gradually, easing it towards proper growing conditions rather than shocking it.
From October to April: A Protocol Worth Following

What the previous sections describe, taken together, is not a complicated system. Three decisions determine whether a Colocasia corm reaches spring in good condition: act before the first frost arrives rather than after, match the storage method to the plant's actual situation, and check stored corms monthly rather than trusting that silence means safety.
That distinction between true dormancy and cold stress, established in the opening section, is the thread that runs through every decision this guide describes.
No general protocol, including this one, will outperform a record you build yourself. Noting the condition and weight of corms at lifting, the storage location and temperature range, the date of first shoot emergence, and any losses against their likely cause gives you something no forum thread can provide: accurate data from your own garden, your own soil, your own microclimate. A few seasons of that kind of record is worth considerably more than a decade of generic advice.
For cultivar-specific observations from our Worcestershire growing work, browse the Fullness of Time Colocasia collection. Each listing carries notes alongside the variety, and those notes will be refined as the plants mature.
Conclusion
Keeping Colocasia alive through a British winter is entirely achievable, but it demands attention to timing, method and the specific conditions your garden presents. The core lessons are straightforward: act before cold stress takes hold rather than after, match your storage approach to the plant's actual situation, understand that UK winters differ fundamentally from the American zone guidance most resources assume, and treat cultivar choice as a genuine variable rather than an afterthought.
Start your records this season. Note what you lifted, where you stored it, and what survived. That accumulating data will outperform any generic checklist within just a few years.
If you are building a collection worth protecting, compare cultivars such as ‘Black Magic’ and ‘Pharaoh’s Mask’, and keep your own winter record. Good records will tell you more about your conditions than any universal promise.
For the rest of the growing year, use our complete UK Colocasia care guide, or see the Growing List for the cultivars currently in the collection.

Leave a comment
This site is protected by hCaptcha and the hCaptcha Privacy Policy and Terms of Service apply.