Propagating Colocasia: Dividing Corms, Separating Runners and Timing It Right for the UK Season
Most elephant ear propagation guides were written for gardeners in Georgia or California. If you have ever tried to follow that advice in the UK and wondered why your divisions sulked through summer or your offsets refused to root, the problem was not your technique. It was the calendar.
Colocasia propagates readily, and elephant ear propagation is genuinely one of the more rewarding skills an intermediate grower can develop. The plant does most of the work, producing cormels and runners with reasonable generosity once it is established. But lifting, dividing, and separating at the wrong point in the British season introduces stress the plant cannot easily absorb, and the results are predictably disappointing.
This guide cuts through the noise. You will learn how corm structure actually works, why that knowledge is the prerequisite for everything else, and how to align both division and runner separation to a UK growing cycle rather than someone else's. Whether you are working with outdoor beds or managing plants indoors under heated conditions, the protocols here are built around the constraints and opportunities specific to British cultivation.
Why Most Propagation Advice Misses the Mark for UK Growers
Search almost any combination of "elephant ear propagation" into a British browser and the results arrive wearing American boots. The advice is sound enough on its own terms, but those terms are a different climate, a different calendar and a different relationship with the soil. North American guidance typically anchors propagation to the March to May window, timed around outdoor soil temperatures reaching 60 to 70°F, the point at which Colocasia roots become sufficiently active to recover from division without stress. That threshold has no direct equivalent in British indoor growing, where the soil temperature in a pot on a windowsill is whatever the room dictates, and where most serious collections never go outside at all.
The growers most likely to seek propagation guidance in the UK are not, in the main, gardeners lifting corms from a border in spring. They are collectors maintaining plants year-round under controlled conditions, adjusting watering and light through the darker months, and watching for the subtle signs of renewed vigour that signal a plant is ready to be divided. For these growers, the calendar logic built into US advice breaks down almost entirely. The question is not when the last frost passes; it is whether the plant in front of them is actively growing, slowing, or resting.
That distinction matters because the period from October to February is not true dormancy for most indoor Colocasia in UK conditions. Growth slows noticeably, new leaves may appear less frequently, and the plant draws more heavily on stored reserves. But the corm remains metabolically active, and an attentive grower who understands this can identify propagation material during this phase rather than waiting unnecessarily for an arbitrary spring date.
The RHS and Gardeners' World offer reliable general care information, and both are worth consulting for baseline guidance. Neither, however, provides propagation protocols calibrated to British indoor conditions or the realities of year-round collector cultivation.
One further obstacle is terminology. Online sources variously describe propagation material as offsets, cormels, bulbils, or pups, often interchangeably and sometimes incorrectly. This piece uses two terms consistently: corm for the main storage organ and offset cormel for the discrete propagation material produced at its base and periphery. That precision is not pedantry; it matters when you are holding a plant and deciding where to cut.
Understanding Corm Structure: The Foundation of Successful Elephant Ear Propagation
With the terminology now agreed, the structure beneath it is worth understanding properly, because this is where most propagation errors begin.
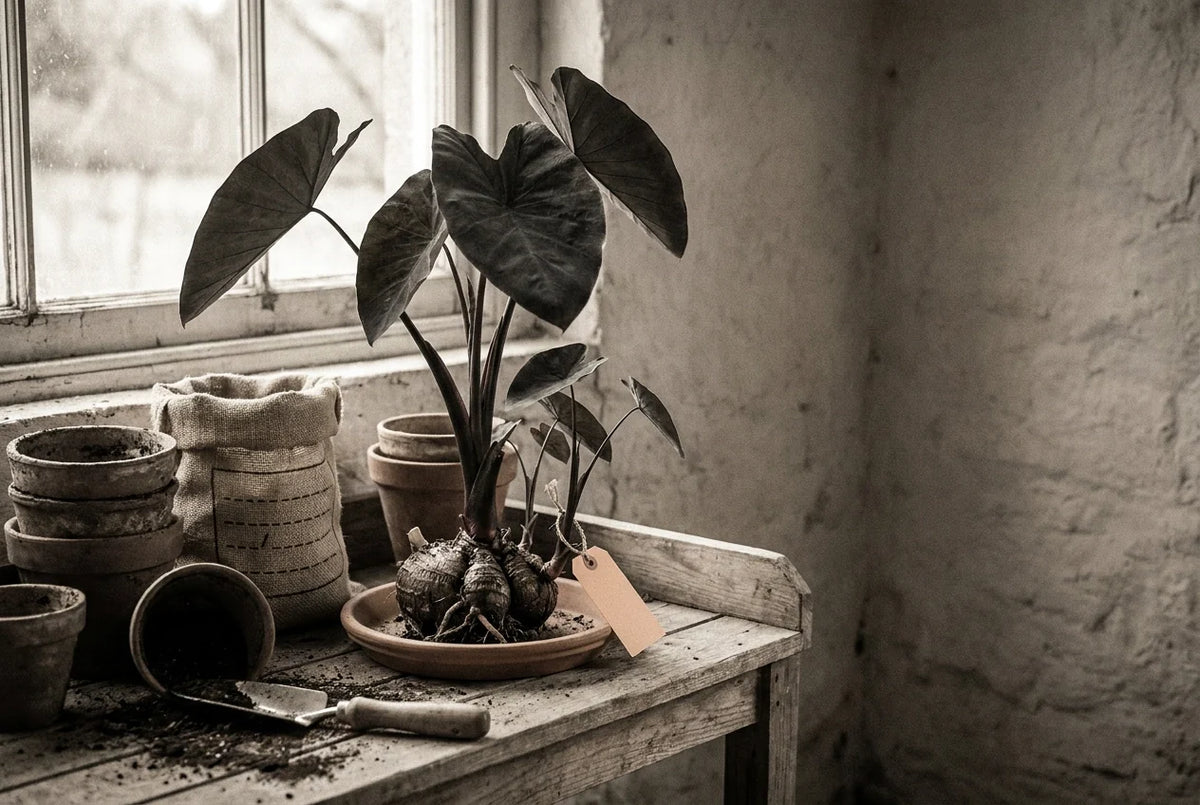
A Colocasia corm is a swollen underground stem, not a true bulb. Bulbs, such as tulips or hyacinths, store energy in fleshy, layered scales arranged around a basal plate. A corm is simpler and more solid: a compressed stem that stores energy as starch within its tissue. Kew's Plants of the World Online classifies Colocasia esculenta as a tuberous geophyte, and that classification carries practical meaning. When you hold a mature corm, you are holding concentrated starch reserves, not a layered structure that can be peeled apart. Cuts need to be deliberate.
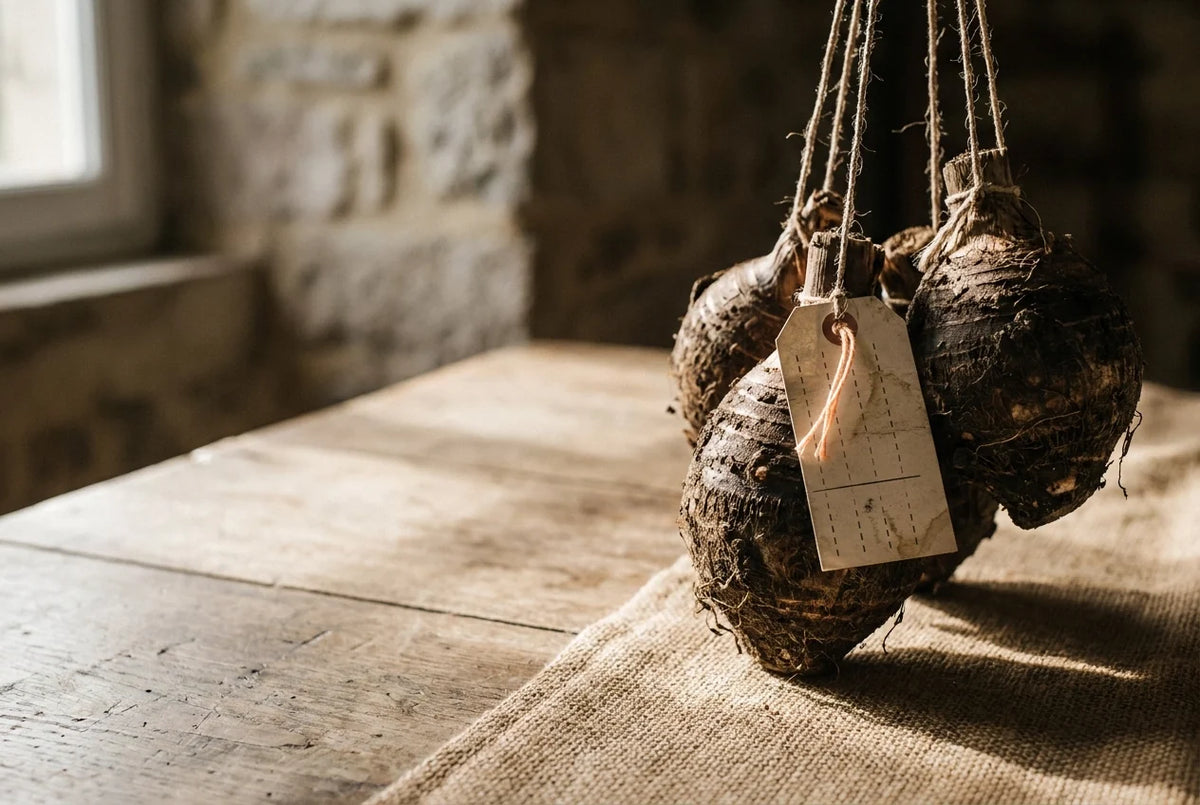
The main corm carries growing points, sometimes called eyes or nodes, which are the raised, slightly roughened sites from which foliage emerges. These are not always obvious at first glance, particularly on corms that have been in storage or lifted through a cold period. As the main corm matures, it generates offset cormels at its base and around its periphery. These are the primary material for vegetative propagation. Each offset cormel is a discrete storage organ in its own right, with its own growing point, connected to the parent by a stolon.
The thickness and character of that stolon tells you a great deal. A cormel attached by a narrow, fibrous connection has already developed considerable independence; it has its own root mass forming and requires only a clean separation. A cormel still broadly fused to the parent body is not yet ready. Forcing the separation at that stage damages both the parent corm and the offset, and the resulting cut surface is far larger than it needs to be.
Colocasia esculenta, the species that anchors most horticultural literature and dominates cultivation, produces offsets reliably once the main corm is well established. Younger corms can be divided, but they produce fewer offsets and the individual cormels tend to be less robust.
The single most important thing to verify before any cut is the location of the growing point. A cormel without a viable growing point will not develop into a new plant, regardless of how well everything else is managed. On the main corm, growing points appear as slightly raised nodes; on offset cormels, the growing point typically sits at the narrower, more pointed end of the structure.
The term Colocasia esculenta bulb appears frequently in search queries, but it is a loose use of language. What is being described is a corm, or more precisely the corm-and-offset system outlined above. Growers who understand that distinction handle their plants more confidently and make cuts in the right places.

Two Methods of Elephant Ear Plant Propagation: Corm Division and Runner Separation
With the corm's anatomy understood, the question becomes which of the two propagation routes to take and what each one actually demands of the grower.
Corm division means cutting the main corm into discrete sections, each carrying at least one viable growing point. The advantage is size: divided sections are larger than most naturally produced offsets and tend to establish with more vigour, reaching a displayable plant sooner. The risk is proportional. Every cut is an open wound on starch-rich tissue that rot finds hospitable. A clean, sharp blade is not optional here, and neither is immediate treatment of cut surfaces with a fungicidal dusting powder or powdered activated charcoal. Both are widely available from UK horticultural suppliers and serve the same purpose: reducing the window in which bacterial or fungal infection can take hold before the tissue begins to callus.
Offset or runner separation is the lower-risk method, and the reason is straightforward: the plant has already completed the structural work. A naturally produced offset cormel is a semi-independent unit, already differentiated from the parent corm and in many cases already producing its own root mass. The grower's role is to detach it cleanly rather than to manufacture something new from existing tissue.
That distinction matters when assessing readiness. An offset cormel is worth separating when it shows at least one clearly visible growing point and, ideally, some independent root development at its base. Removing cormels that have neither is a common cause of failure; without roots or the stored energy to generate them quickly, a small, immature cormel struggles to establish before it desiccates or rots. Elizabeth Waddington, writing for horticulture.co.uk, advocates separating offsets as the preferred propagation route for exactly this reason: the plant has already done the groundwork.
Choosing between the two methods comes down to three practical considerations: the maturity of the parent plant, how many offsets it has already produced, and the grower's honest tolerance for risk. A well-established corm on a vigorous specimen that has produced few or no offsets may only offer division as an option. A mature plant with several well-developed cormels around its base makes offset separation the sensible first move.
Water propagation of elephant ear cormels and small divisions is a distinct enough process, with its own requirements around aeration, temperature and rot management in British indoor conditions, to warrant separate treatment in the next section.
Elephant Ear Propagation in Water: What Actually Works in a British Home
Water propagation works, with caveats. For offset cormels and small divisions, suspending the material so that only the very base contacts the water surface allows roots to form without drowning the wound tissue. Use a glass vessel narrow enough to cradle the cormel above the waterline rather than submerge it. The geometry matters more than the aesthetics, though a clear vessel has the practical advantage of letting you watch root development without disturbing the plant.
Aeration is the factor most often overlooked. A centrally-heated sitting room with a glass of standing water on the windowsill is a rot incubator, not a propagation station. Change the water every two to three days to prevent bacterial buildup, and keep the vessel away from direct radiator heat.
Much of England and Wales has hard, heavily treated water; filtered water is the safer choice for newly cut material. A standard jug filter is a practical option. If you are using tap water, standing it for 24 hours in an open container at least reduces free chlorine, which is better than nothing.
Roots typically emerge within a few weeks at room temperature under bright indirect light. Once roots are well formed, pot the cormel on promptly. Extended water propagation produces roots adapted to an oxygen-rich, nutrient-free medium; those roots struggle to function efficiently in substrate, and plants left too long in plain water arrive at the potting stage already nutritionally depleted.
The real virtue of water propagation is visibility. You can see whether rooting is progressing before committing to a substrate, and that confidence is genuinely useful for growers trialling new cultivars or working with expensive material. It also bridges naturally into semi-hydroponic growing, where the root environment is deliberately managed rather than left to compost. The propagation and semi-hydroponic planter range from Fullness of Time is designed with this transition in mind, making the move from water rooting to a structured passive hydroponic setup straightforward rather than makeshift.
One firm boundary: this method does not suit large corm divisions. Where the cut surface area is significant, water contact accelerates rot faster than roots can form. For those, substrate propagation with proper wound treatment is the reliable route, as covered in the following section.
Timing Propagation to the British Growing Season Rather Than Someone Else's Calendar
Timing, in propagation, is the difference between a corm that pushes forward with conviction and one that simply sits in compost, spending its reserves on nothing in particular.
For Colocasia grown outdoors or in an unheated greenhouse, the practical window opens in late March to April. Wait until the corm shows signs of renewed activity and night temperatures are no longer freezing, whether that is the first swelling of a growing point or the emergence of a pale shoot tip. Dividing before these signals appear risks interrupting a corm still drawing on stored starch rather than directing energy into new growth.
With indoor plants in their October to February rest phase, late February to March is the most productive propagation window, as extending day length shifts the plant naturally back toward active mode. The plant is willing; work with that willingness rather than against it.
As noted above, US guidance anchors this to 60 to 70°F soil temperatures, the practical takeaway for a British home is: in a centrally-heated British home, maintaining the warmth that propagating material needs is typically achievable without intervention; rooms with cold floors or poor insulation may benefit from a propagation mat.
For first-time separators, the height of the growing season, when the parent plant is in full active growth, is the most forgiving period. The parent plant recovers quickly from the loss of an offset; there is more margin for minor errors of technique or timing. This window is worth using deliberately.
What to avoid is the core of the winter rest period (covered in the October to February window above), when the corm calluses slowly and rot risk is highest. A corm divided while fully dormant calluses slowly, roots reluctantly and is considerably more vulnerable to rot than one divided in active growth. Unless the plant is visibly continuing to grow, which does happen in unusually warm or well-lit spaces, leave it undisturbed.
Cultivar selection adds a further variable. Vigorous varieties within the Colocasia esculenta lineage produce offsets prolifically from late spring onward, offering multiple opportunities to separate throughout the summer. Slower or more unusual cultivars may produce only one or two cormels in a season; with those, a mistimed or premature separation is not easily recovered.
How to Divide a Colocasia Corm: A Step-by-Step Protocol
Once timing is settled, the physical work can begin. Handle the corm with the same deliberateness you would bring to any irreversible cut.
Ease the parent plant from its container rather than pulling by the stems. Tip it gently onto a clean surface and shake or brush away the growing medium by hand, working inward from the roots toward the corm body. Cold water rinsing is tempting when the roots are muddy, but the shock to root tissue is real; dry removal is slower and worth it.
Before any blade comes out, examine what you have. Press lightly over the entire corm surface and check for soft patches, sunken areas or discolouration running into the flesh. Any section showing these signs should be cut away entirely first, the wound dusted immediately, and the remaining corm reassessed before you proceed with division. Attempting to divide an already compromised corm multiplies the entry points for rot rather than halving the problem.
For offset cormel separation, sterilise your blade with isopropyl alcohol or a dilute bleach solution and allow it to dry before use. Cut the connecting stolon as close to the parent corm as practical without nicking either growing point. Offsets that resist with firm, woody stolons may need a single decisive cut; those that detach with almost no pressure are genuinely ready and will establish faster for it.
For main corm division, locate the growing points first. They present as slightly raised, firm nodes on the corm surface, often with a faintly roughened texture compared to the surrounding skin. Plan your cuts before making them, so each section retains at least one viable growing point. A section of healthy corm tissue without a growing point will not produce new growth regardless of how well everything else is managed.
Dust all cut surfaces promptly and thoroughly with powdered sulphur or activated charcoal. Set the treated pieces in a warm, well-ventilated spot, away from direct heat or cold draughts, and leave them briefly in warm air, even a short window allows the wound surface to begin sealing. This brief window allows the wound surface to begin sealing; it will not feel dramatically different to the touch, but the reduction in rot risk is meaningful.
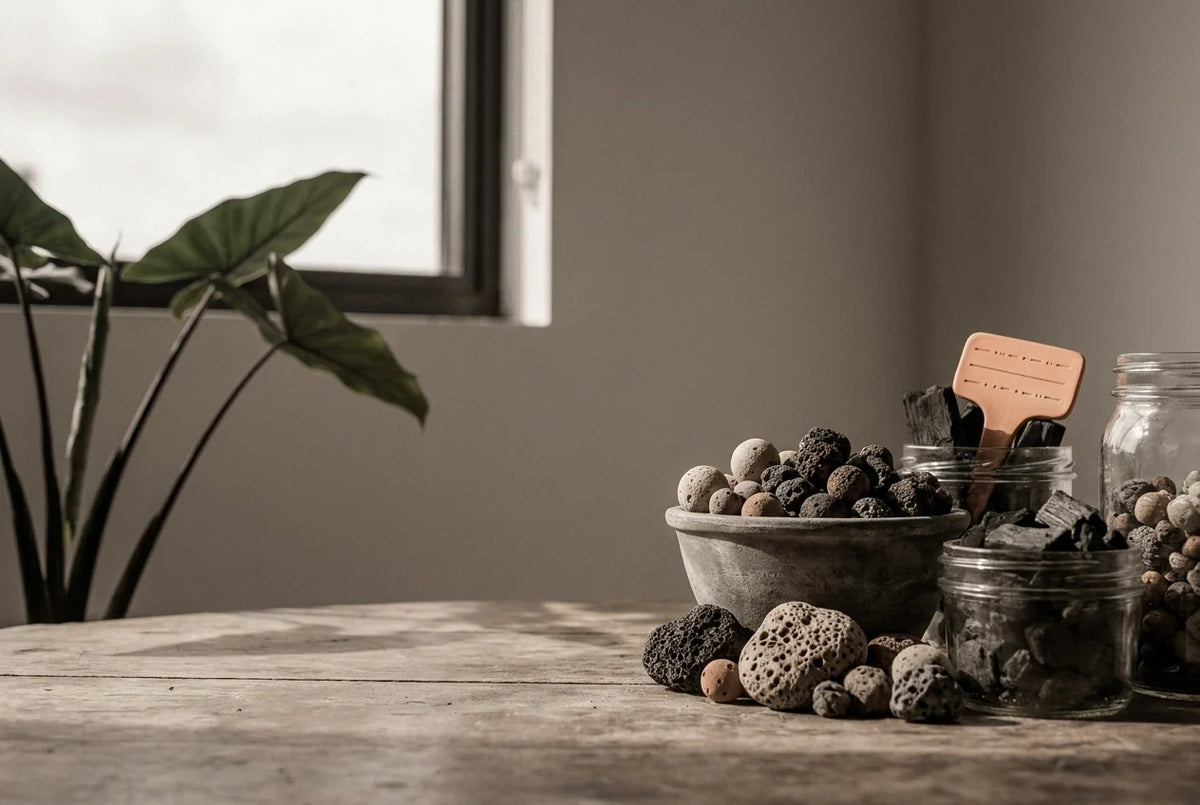
Pot each section into a free-draining mix of peat-free compost with a generous proportion of perlite or coarse horticultural grit to ensure free drainage. Position the growing point just at or fractionally below the substrate surface. Water in lightly, then resist the urge to water again until the medium has partially dried down.

Post-Propagation Care in the British Indoor Environment
Once the corms are potted and the substrate settled, the work shifts from cutting to watching. And this is where the British home becomes a quietly hostile environment for newly propagated Colocasia.
Central heating is the principal problem. Radiators drive ambient humidity down rapidly, and a freshly divided cormel has no established root system to draw moisture from the substrate in compensation. What little water the leaf surfaces lose cannot be replaced, and the result is stress before the plant has taken a single step toward recovery. Positioning matters enormously at this stage. Grouping propagules together, or placing them among other established plants, raises local humidity passively without any equipment at all. For winter propagation in particular, a clear polythene bag placed loosely over the pot creates a humidity tent that holds moisture close to the foliage. Remove the humidity tent gradually once the plant is showing signs of new growth, allowing it to acclimatise to room conditions.
Watering discipline during this period is more consequential than at almost any other point in the plant's life. The substrate should feel just moist when pressed: not dry, and certainly not sodden. Newly cut corm tissue has limited defences against rot, and cold, wet compost is a reliable route to losing material that survived the division itself without difficulty. If anything, err toward the drier side of moist, particularly in winter when substrate temperatures near cold floors or windows may drop further than expected.
Until new foliage emerges, resist the impulse to intervene. No feeding, no repotting, no repositioning. Treat the propagule as a patient in recovery rather than a plant in growth. The first visible sign of a leaf tip pushing upward is the signal you are waiting for, and it is genuinely worth waiting for before changing anything.
Once that first leaf has unfurled fully and a second is visibly forming, a balanced liquid fertiliser at half the recommended rate can begin. Full feeding rates should follow only once the plant carries several leaves and is clearly in active growth, not before.
Rooted offsets transition well into semi-hydroponic setups at this stage, for those using them.
Common Problems and How to Read Them
Even with careful propagation, things occasionally go wrong, and knowing how to read the symptoms saves material that might otherwise be discarded.
The most urgent problem is soft, discoloured or foul-smelling corm tissue discovered after potting. This means rot has entered a wound, and speed matters. Treat the fresh wound as described in the division protocol above, then allow it to re-callus before returning to substrate.

Absence of visible growth for several weeks is not, by itself, a cause for concern. Provided the corm feels firm when gently pressed, it is quite possibly producing root mass below the surface before committing any energy upward. Resist the urge to investigate by unpotting. Maintain consistent warmth, keep moisture consistent and wait. A corm that has rotted will betray itself through softness or smell; one that is simply working quietly will not.
Yellowing or collapse of an emerging leaf on a newly separated offset has two likely explanations: overwatering or cold stress. Check the substrate first, and then consider the plant's position. A pot sitting close to a cold window or in the path of draughts from an external door will struggle regardless of watering discipline. Relocate before drawing any conclusions about the propagule itself.
The failure that is hardest to recover from is separation carried out too early. Offset cormels removed before they have developed a visible growing point or any independent root structure rarely establish. No subsequent care compensates for the absence of viable growing tissue. Assessing cormel readiness before making the cut is, genuinely, the single habit that most improves propagation outcomes for intermediate growers.
Finally, if the parent plant shows lower leaf yellowing or stalls after offset removal, repot it into fresh substrate and introduce a balanced feed. A well-grown parent recovers from separation within a few weeks once its own needs are met.
Propagation as Practice: Building a Collection One Corm at a Time
Propagation, at its best, becomes a habit of attention rather than a seasonal event. The problems that send growers back to troubleshooting guides almost always trace to one of a small number of recurring errors: cutting before understanding where the growing point sits, dividing at the wrong moment in the plant's cycle, or rushing a freshly wounded corm into conditions that invite rot before callus can form.
The principles that resolve most of those errors are not complicated. Know the structure before the blade touches anything. A visible growing point on every division and every offset cormel is not optional; it is the single condition that determines whether a separated piece becomes a plant or a slow disappointment. Timing, as set out above, follows the plant's signals rather than a fixed date.
Water propagation follows the same principle of readiness before commitment, pot on once roots are well developed.
Aftercare follows the same discipline: dust, brief callus, consistent warmth, and patience before the first feed.
Fullness of Time's Colocasia collection brings together cultivars selected for performance under British indoor conditions, alongside a semi-hydroponic propagation range designed to support exactly the kind of careful, attentive growing that this process rewards. For growers building a collection one corm at a time, that combination of proven plant material and thoughtfully made equipment is a reasonable place to start.
Conclusion
Propagating Colocasia successfully in the UK comes down to four fundamentals: understanding corm structure before you cut, choosing the right method for your material, timing division to your plant's actual growth signals rather than a generic calendar, and maintaining warmth and humidity through the critical first weeks of establishment.
Done carefully, this is a skill that compounds. Each successful division builds both your collection and your confidence in reading what a plant needs.
If you are ready to start, begin with healthy parent material, a clean blade, and a warm space. Browse the Fullness of Time Colocasia range for cultivars proven under British conditions, and explore the semi-hydroponic propagation equipment designed to give your divisions the best possible start. One corm, handled well, can become many.

Leave a comment
This site is protected by hCaptcha and the hCaptcha Privacy Policy and Terms of Service apply.